Recording and Livestreaming
We have upgraded our SDK to v2 (2.x.x). For the previous stable release, please visit here
Huddle01 SDKs come with built-in functionality to record and livestream meetings. This guide will walk you through the steps required to get started with both features.
For this guide, we have already created a basic video conferencing web app using Next.js, and we will be adding recording and livestreaming functionality to it. This guide assumes you have a working application with the ability to create and join Huddle01 rooms. To build an app from scratch, you can refer to the walkthrough guides for React.js and Vanilla JS.
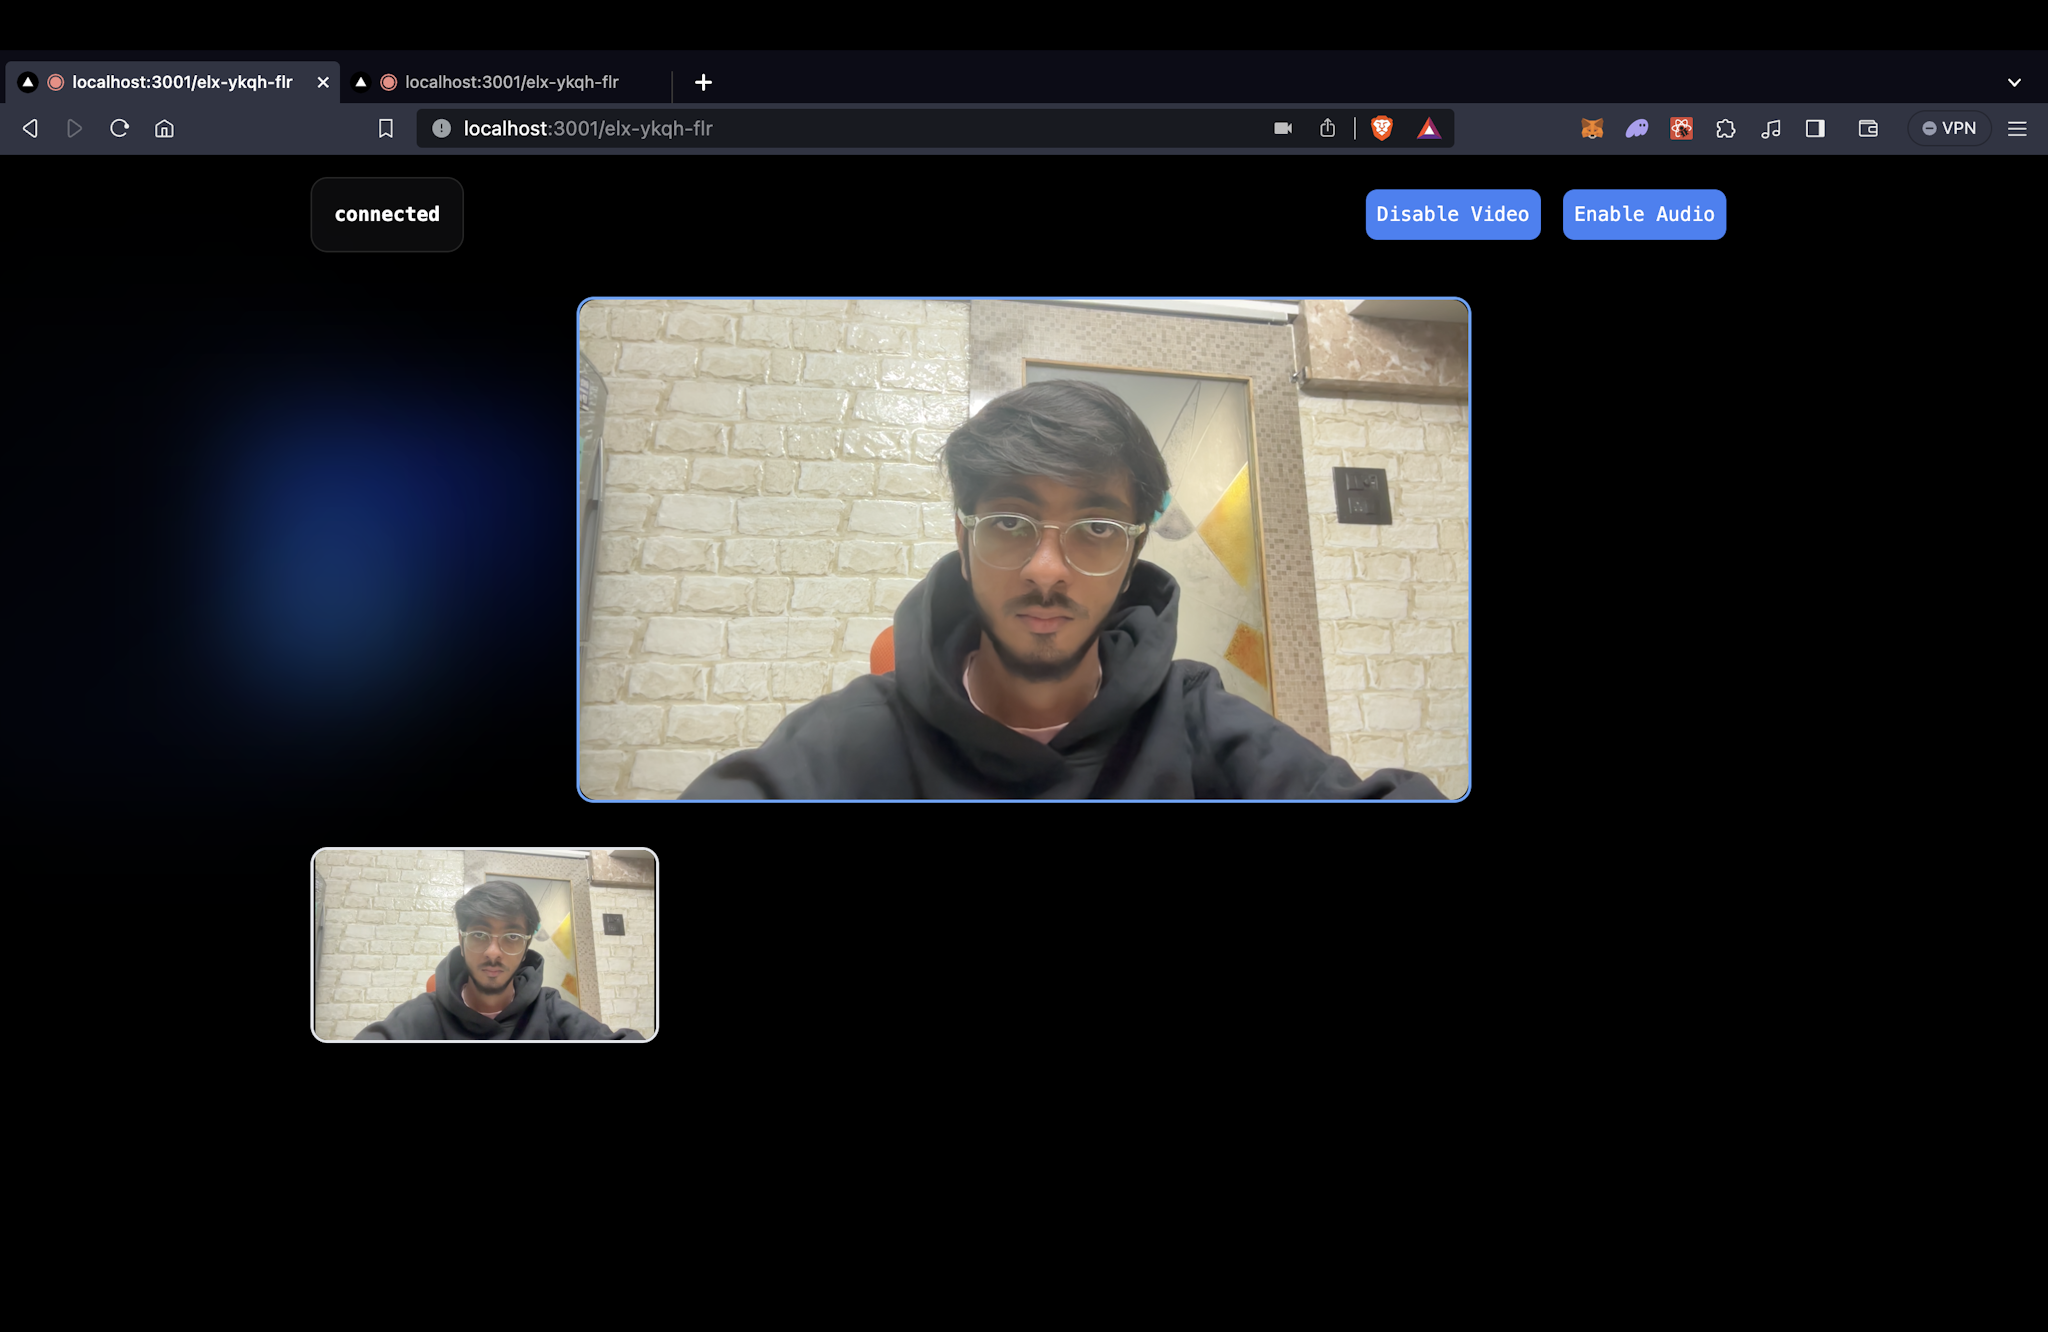
App Initial State
We have used the Huddle01 React SDK to build this app. This is what it looks like once you join the room and enable your video from two different tabs.
Recording the Meeting
To record a meeting, you have to make use of the Huddle01 Server SDK. This SDK exposes a Recorder class with functions that allow you to start and stop a meeting recording. This is supposed to happen on the server side, so you will need to create an API route to handle the recording.
Install the Server SDK if you haven't already.
pnpm i @huddle01/server-sdkLet's create an API route handler to start recording the meeting, inside the Next.js pages/api directory. Create a file called startRecording.ts and add the following code to it:
import type { NextApiRequest, NextApiResponse } from 'next';
import { Recorder } from '@huddle01/server-sdk/recorder';
import { AccessToken, Role } from '@huddle01/server-sdk/auth';

export default async function handler(
  req: NextApiRequest,
  res: NextApiResponse
) {
  const { roomId } = req.query;

  //checking for project credentials
  if (!process.env.NEXT_PUBLIC_PROJECT_ID && !process.env.API_KEY) {
    return res
      .status(400)
      .json({ error: 'NEXT_PUBLIC_PROJECT_ID and API_KEY are required' });
  }

  //creating the Recorder class instance
  const recorder = new Recorder(
    process.env.NEXT_PUBLIC_PROJECT_ID!,
    process.env.API_KEY!
  );

  //generating an access token for the recorder
  const token = new AccessToken({
    apiKey: process.env.API_KEY!,
    roomId: roomId as string,
    role: Role.BOT,
    permissions: {
      admin: true,
      canConsume: true,
      canProduce: true,
      canProduceSources: {
        cam: true,
        mic: true,
        screen: true,
      },
      canRecvData: true,
      canSendData: true,
      canUpdateMetadata: true,
    },
  });

  const accessToken = await token.toJwt();

  //starting the recording
  const recording = await recorder.startRecording({
    roomId: roomId as string,
    token: accessToken,
  });

  console.log('recording', recording);

  return res.status(200).json({ recording });
}
Similarly, you can also create an API route handler to stop the recording. Once a recording has been stopped, you can fetch it using the Get Recordings API which returns a list of all your recordings.
Create a file called stopRecording.ts and add the following code to it:
import type { NextApiRequest, NextApiResponse } from 'next';
import { Recorder } from '@huddle01/server-sdk/recorder';
interface Recordings {
id: string;
recordingUrl: string;
recordingSize: number;
}
export default async function handler(
req: NextApiRequest,
res: NextApiResponse
) {
const { roomId } = req.query;
//checking for project credentials
if (!process.env.NEXT_PUBLIC_PROJECT_ID && !process.env.API_KEY) {
return res
.status(400)
.json({ error: 'NEXT_PUBLIC_PROJECT_ID and API_KEY are required' });
}
//creating the Recorder class instance
const recorder = new Recorder(
process.env.NEXT_PUBLIC_PROJECT_ID!,
process.env.API_KEY!
);
//stopping the recording
const recording = await recorder.stop({
roomId: roomId as string,
});
console.log('recording', recording);
const { msg } = recording;
if (msg === 'Stopped') {
//fetching the recording
const response = await fetch(
'https://api.huddle01.com/api/v1/get-recordings',
{
headers: {
'x-api-key': process.env.API_KEY!,
},
}
);
const data = await response.json();
const { recordings } = data as { recordings: Recordings[] };
//return the most recent recording from the list
return res.status(200).json({ recording: recordings[0] });
}
return res.status(200).json({ recording });
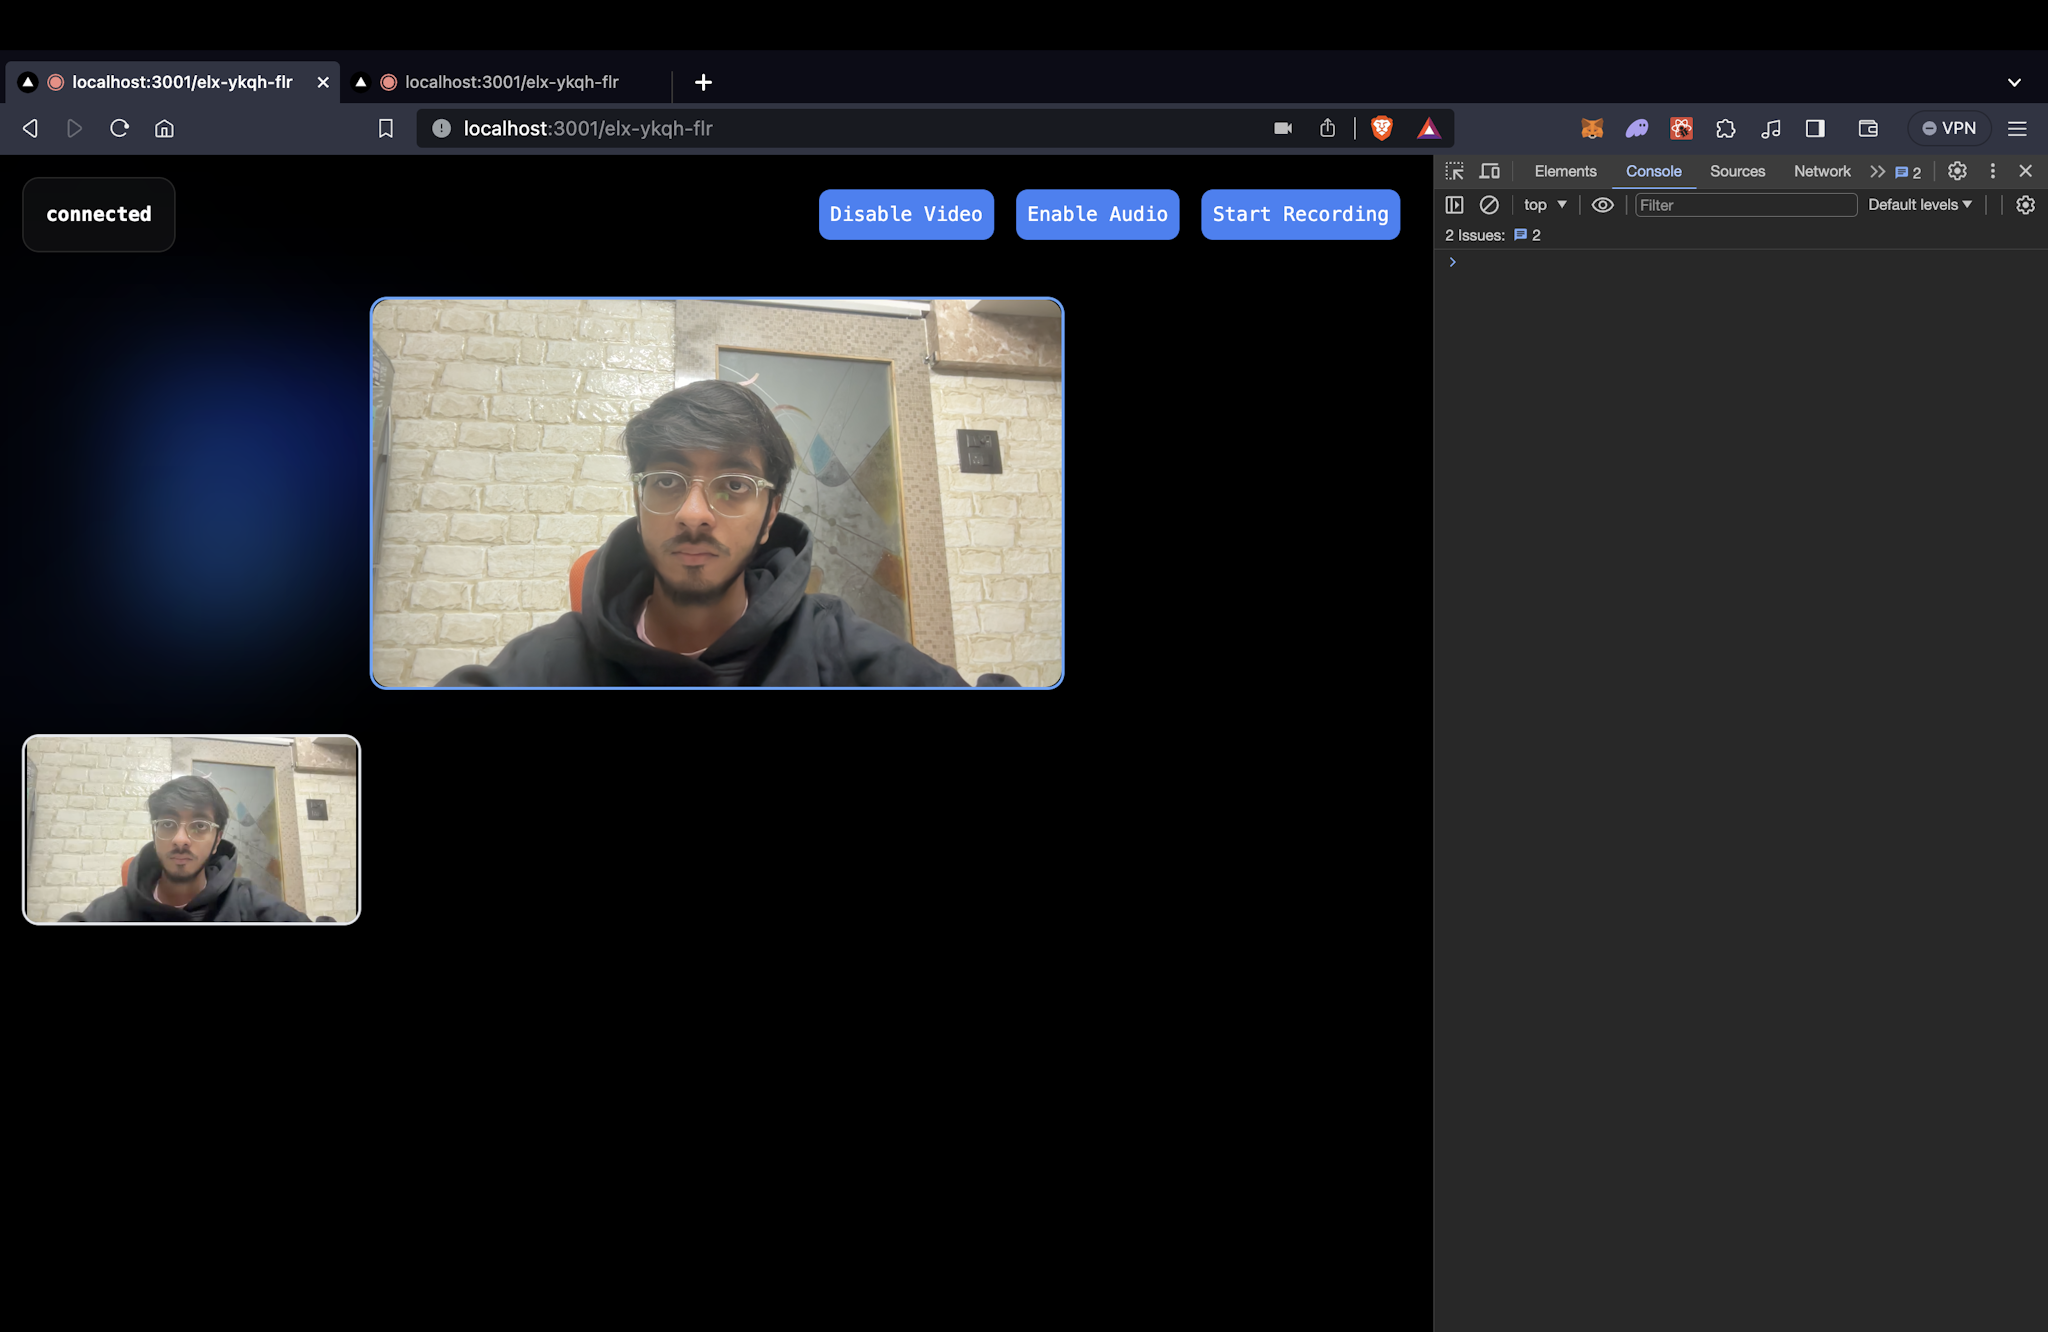
}Next, we can simply call these APIs from the client side to start and stop the recording. Let's create a boolean state to keep track of the recording status and a button to start and stop the recording.
const [isRecording, setIsRecording] = useState<boolean>(false);
return (
<button
className="bg-blue-500 p-2 mx-2 rounded-lg"
onClick={async () => {
const status = isRecording
? await fetch(
`/api/stopRecording?roomId=${myRoomId}`
)
: await fetch(
`/api/startRecording?roomId=${myRoomId}`
);
const data = await status.json();
if(isRecording) {
console.log("Recording Stopped", { data });
} else {
console.log("Recording Started", { data });
}
setIsRecording(!isRecording);
}}
>
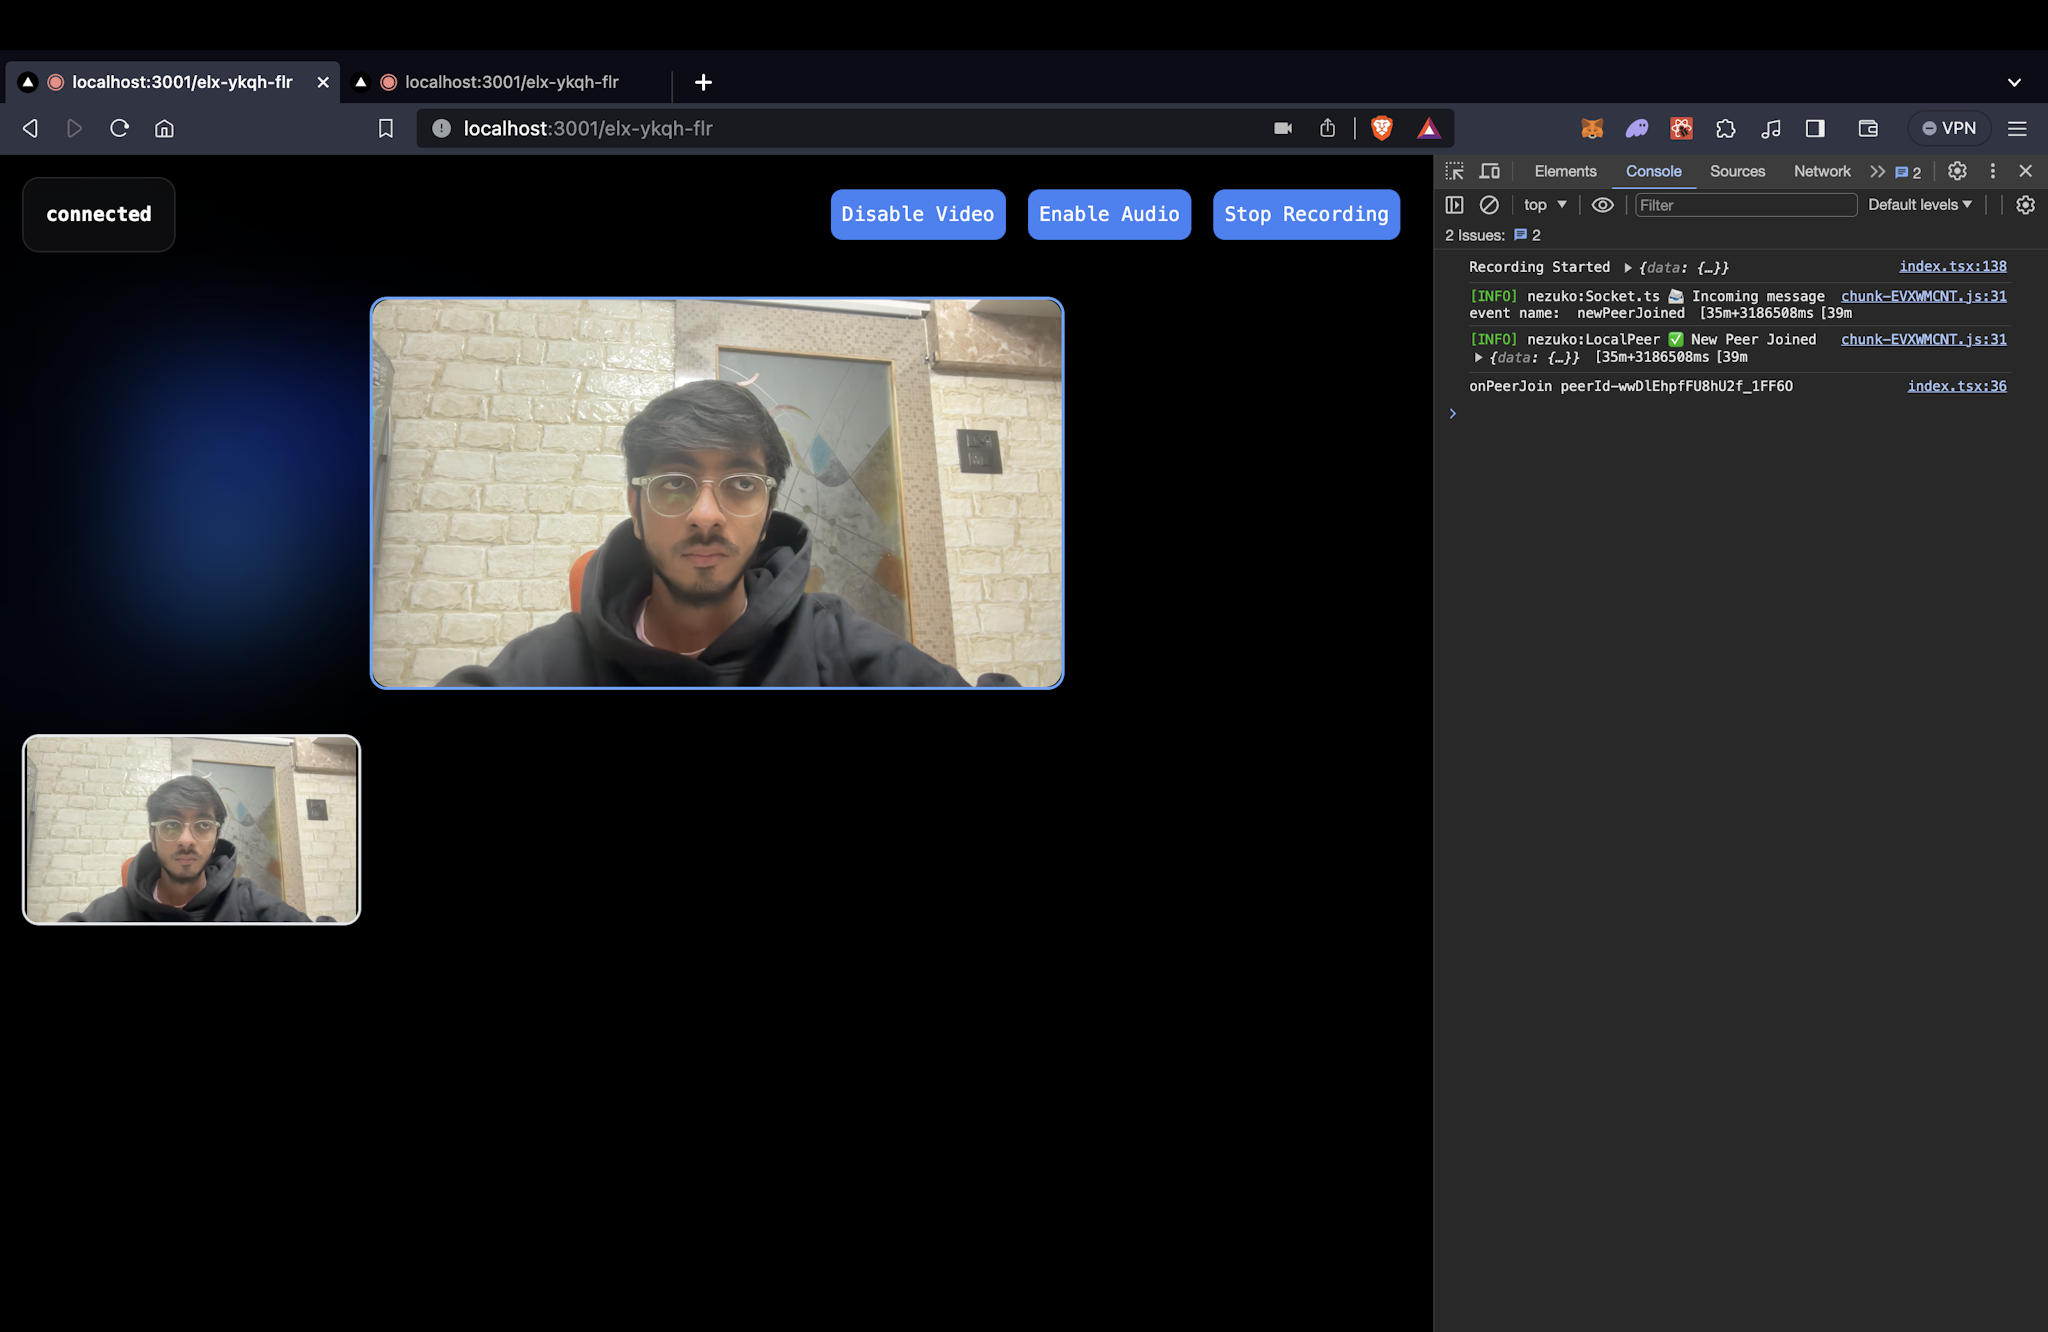
{isRecording ? "Stop Recording" : "Start Recording"}
</button>
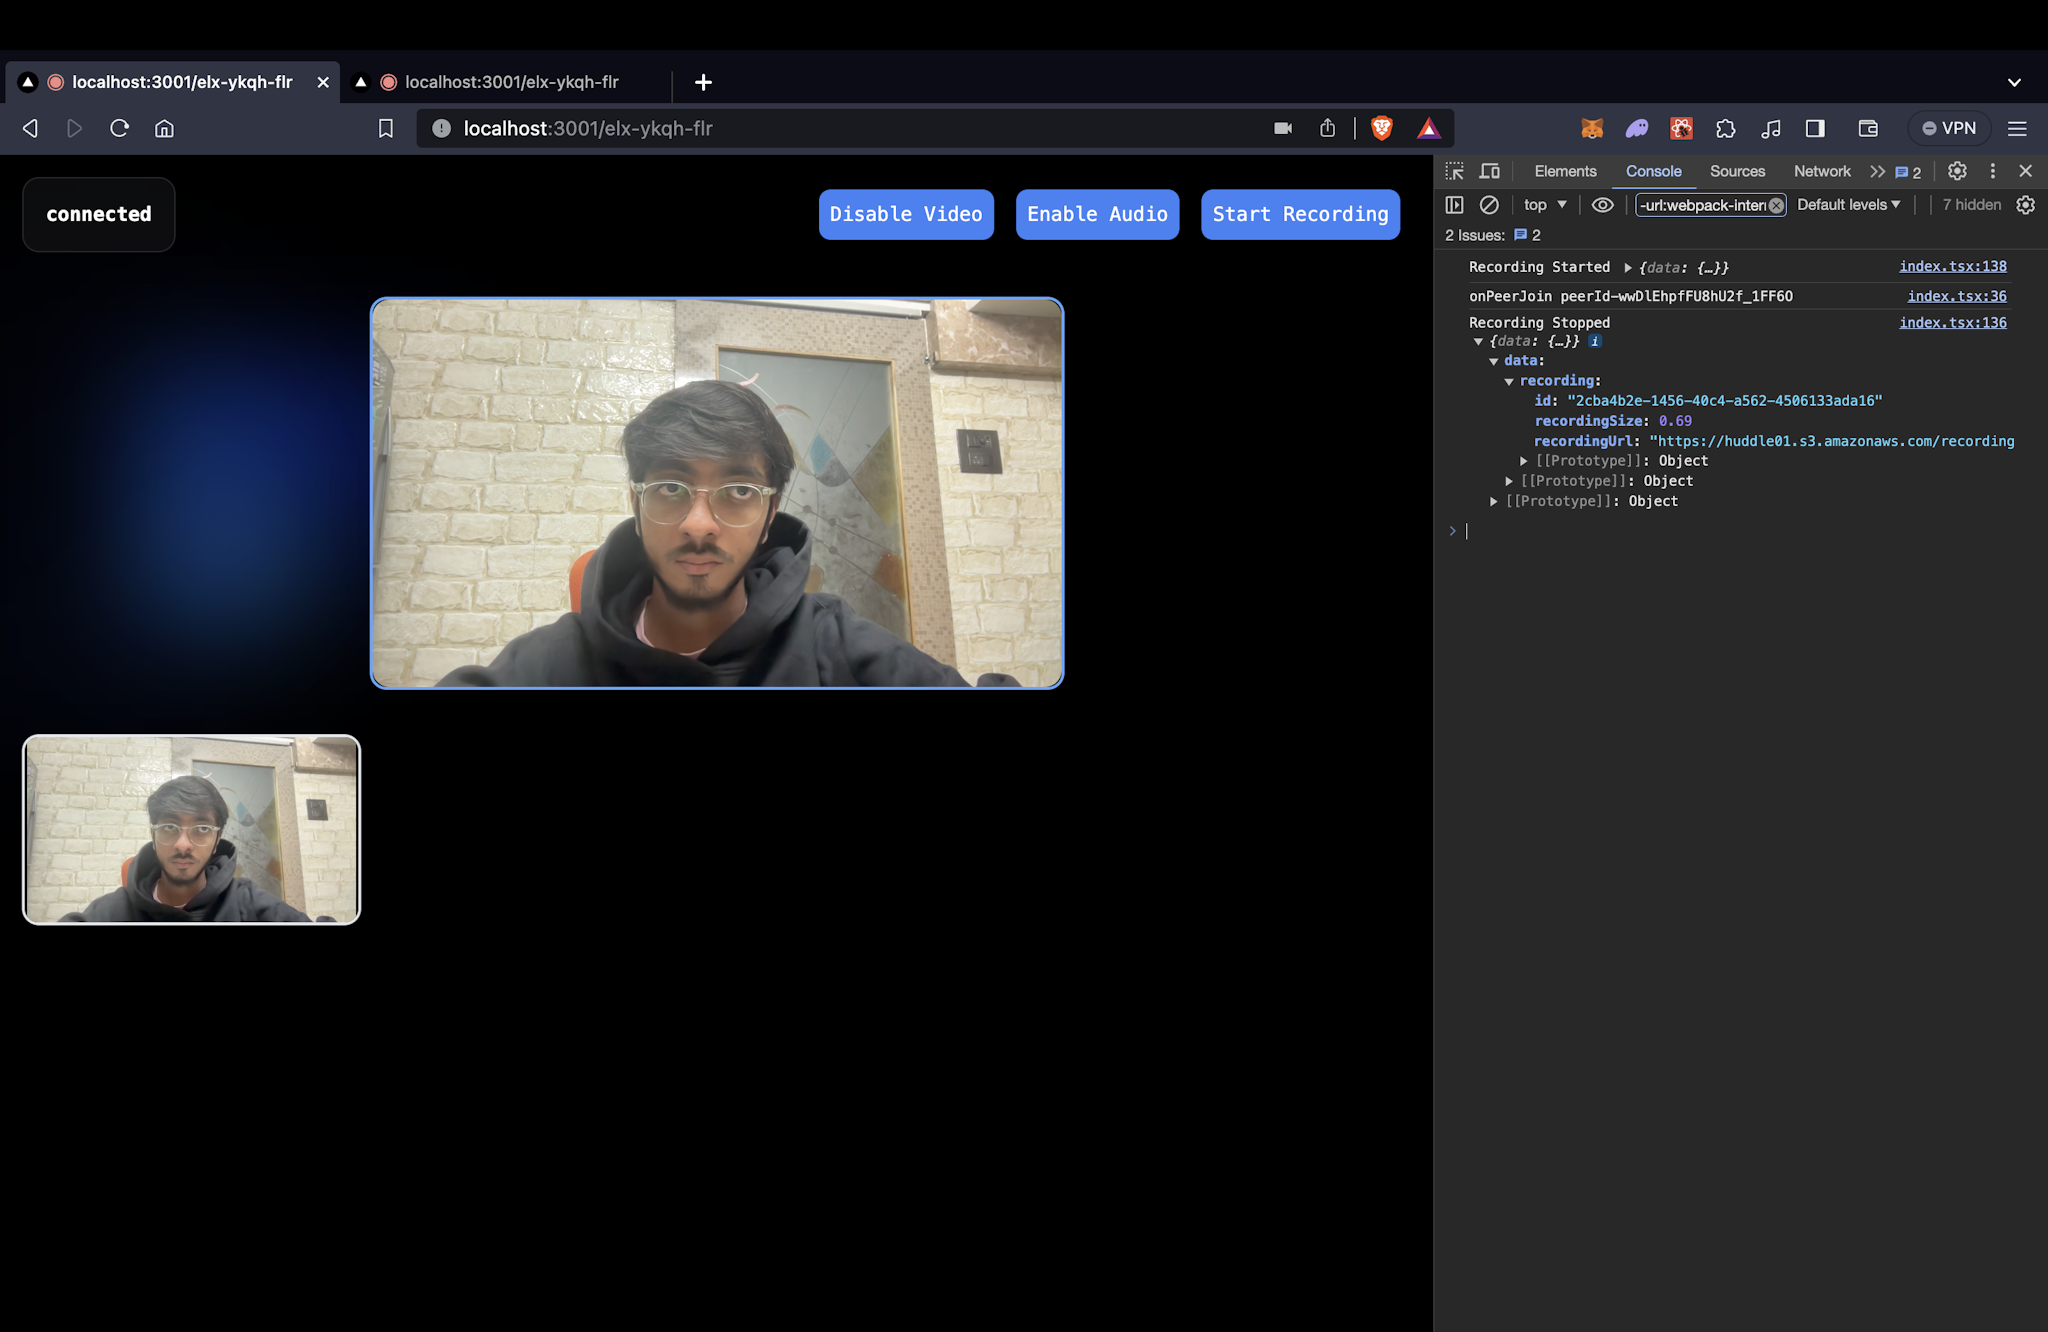
);This is what the button looks like. On stopping the recording, the URL of the recording is logged in the console.
Livestreaming the Meeting
Huddle01 rooms can be livestreamed to any 3rd party platform of your choice. The flow for livestreaming is exactly the same as recording, with the difference being that you have to call the startLivestream method instead of startRecording, and pass the RTMP URL of the streaming platform to the startLivestream method.
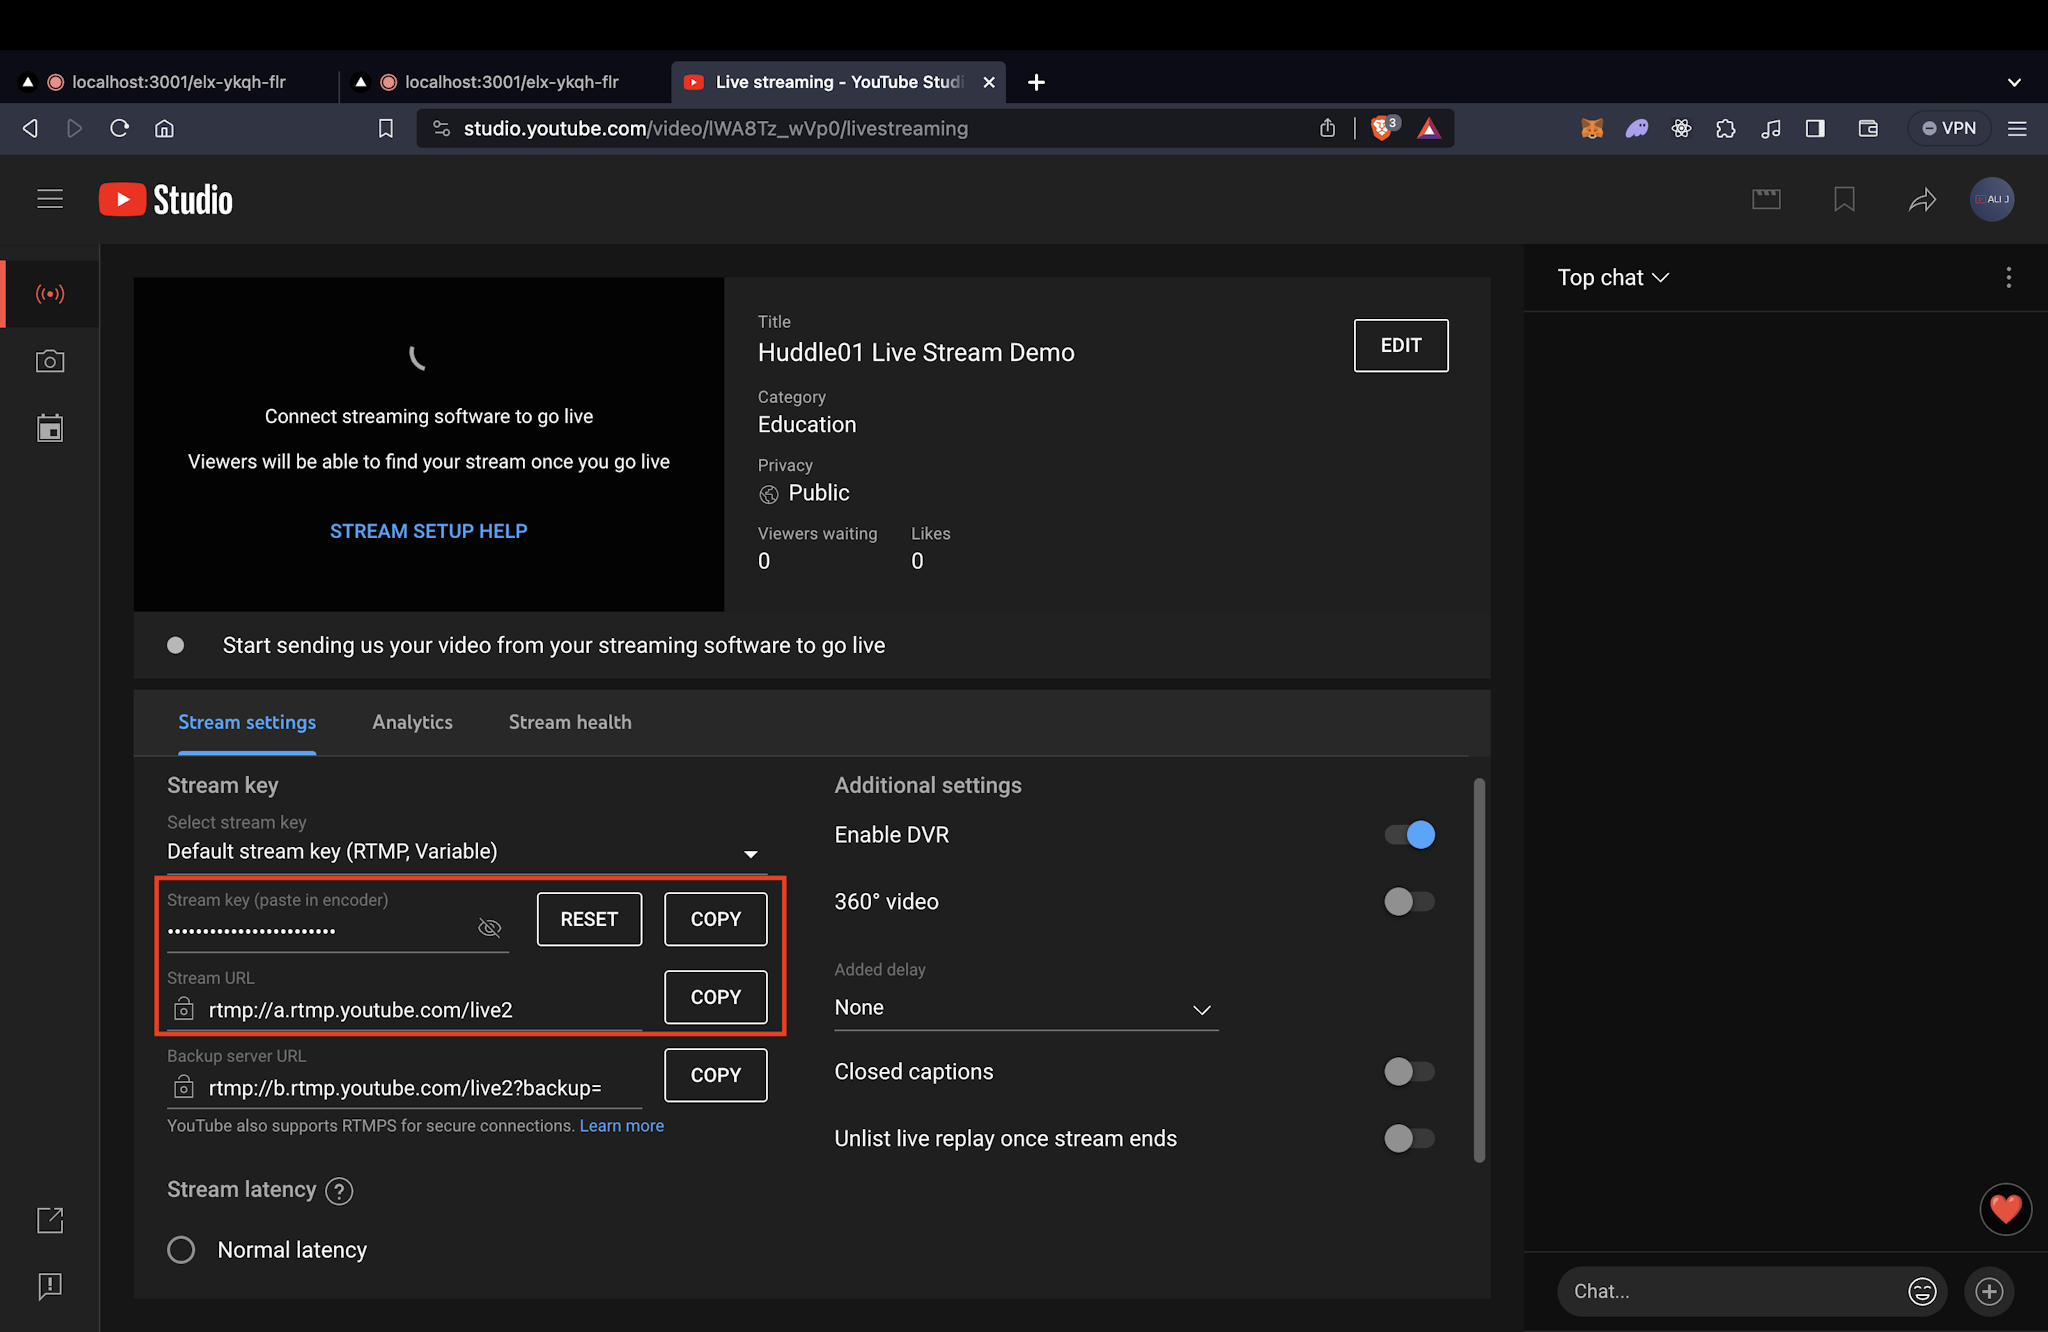
In this example, we will be using YouTube to livestream our meeting. The RTMP URL in this case will be a combination of your YouTube stream URL and your YouTube stream key, which is private and should be kept secret. You can get those in the livestreaming section on YouTube Studio, as shown in the image.
To livestream a meeting, you have to make use of the Huddle01 Server SDK. This SDK exposes functions that allow you to start and stop a meeting livestream. This is supposed to happen on the server side, so you will need to create an API route to handle the livestream.
Install the Server SDK if you haven't already.
pnpm i @huddle01/server-sdkLet's create an API route handler to start livestreaming the meeting, inside the Next.js pages/api directory. Create a file called startLivestream.ts and add the following code to it:
import type { NextApiRequest, NextApiResponse } from 'next';
import { Recorder } from '@huddle01/server-sdk/recorder';
import { AccessToken, Role } from '@huddle01/server-sdk/auth';

export default async function handler(
  req: NextApiRequest,
  res: NextApiResponse
) {
  const { roomId } = req.query;

  //checking for project credentials
  if (!process.env.NEXT_PUBLIC_PROJECT_ID && !process.env.API_KEY) {
    return res
      .status(400)
      .json({ error: 'NEXT_PUBLIC_PROJECT_ID and API_KEY are required' });
  }

  //creating the Recorder class instance
  const recorder = new Recorder(
    process.env.NEXT_PUBLIC_PROJECT_ID!,
    process.env.API_KEY!
  );

  //generating an access token for the recorder
  const token = new AccessToken({
    apiKey: process.env.API_KEY!,
    roomId: roomId as string,
    role: Role.BOT,
    permissions: {
      admin: true,
      canConsume: true,
      canProduce: true,
      canProduceSources: {
        cam: true,
        mic: true,
        screen: true,
      },
      canRecvData: true,
      canSendData: true,
      canUpdateMetadata: true,
    },
  });

  const accessToken = await token.toJwt();

  //starting the livestream
  const livestream = await recorder.startLivestream({
    roomId: roomId as string,
    token: accessToken,
    rtmpUrls: [`${"<YOUTUBE_STREAM_URL>"}/${"<YOUTUBE_STREAM_KEY>"}`] //passing the RTMP URL
  });

  console.log('livestream', livestream);

  return res.status(200).json({ livestream });
}
Since rtmpUrls is an array, you can pass multiple RTMP URLs to the startLivestream method to livestream to multiple platforms at the same time!
Similarly, you can also create an API route handler to stop the livestream. Create a file called stopLivestream.ts and add the following code to it:
import type { NextApiRequest, NextApiResponse } from 'next';
import { Recorder } from '@huddle01/server-sdk/recorder';

interface Recordings {
  id: string;
  recordingUrl: string;
  recordingSize: number;
}

export default async function handler(
  req: NextApiRequest,
  res: NextApiResponse
) {
  const { roomId } = req.query;

  //checking for project credentials
  if (!process.env.NEXT_PUBLIC_PROJECT_ID && !process.env.API_KEY) {
    return res
      .status(400)
      .json({ error: 'NEXT_PUBLIC_PROJECT_ID and API_KEY are required' });
  }

  //creating the Recorder class instance
  const recorder = new Recorder(
    process.env.NEXT_PUBLIC_PROJECT_ID!,
    process.env.API_KEY!
  );

  //stopping the livestream
  const livestream = await recorder.stop({
    roomId: roomId as string,
  });

  console.log('livestream', livestream);


  return res.status(200).json({ livestream });
}
Next, we can simply call these APIs from the client side to start and stop the livestream. Let's create a boolean state to keep track of the livestream status and a button to start and stop the livestream.
  const [isLive, setIsLive] = useState<boolean>(false);

  return (
    <button
        className="bg-blue-500 p-2 mx-2 rounded-lg"
        onClick={async () => {
            const status = isLive
            ? await fetch(
                `/api/stopLivestream?roomId=${myRoomId}`
                )
            : await fetch(
                `/api/startLivestream?roomId=${myRoomId}`
                );

            const data = await status.json();

            if(isLive) {
                console.log("Livestream Stopped", { data });
            } else {
                console.log("Livestream Started", { data });
            }
            setIsLive(!isLive);
        }}
    >
        {isLive ? "Stop Livestream" : "Start Livestream"}
    </button>
  );
You're all set! Happy Hacking! 🎉
For more information, please refer to the Server SDK Reference.